Chapter 9 — First Run & Calibration
Chapter 9 of 10 · ~60 minutes · First power-on
Read this chapter fully before powering on
The first power-on after a build is the most important moment. Things to look for, things to listen for, and things to immediately do if something is wrong are all in this chapter. Read it first.
Air in the boiler will destroy the heating element — bleed it first
The boiler heating element heats water. If there is air in the boiler when you first power on, the element heats air instead — and burns out. The E24 copper boiler is around €180 and not easy to find second-hand. This mistake is expensive, silent, and completely preventable.
The fix is simple: open the steam wand immediately after power-on, before the boiler gets hot. Water will spit out first, then steam. Once you get a steady flow of steam for a few seconds, the boiler is full of water and the air is gone. Close the wand and let the machine warm up normally.
This is easy to forget because nothing warns you at the moment it matters. I destroyed my original copper boiler this way. Ran a used aluminium boiler for a month while I figured out what had happened. The step is in Step 2 below — do not skip it.
Before powering on — final physical check
- Machine is fully reassembled (top panel on, all screws in)
- Water tank is full and seated
- Drip tray is in place
- No tools or loose components inside the machine
- All harness connectors are seated
- No wires visible that could contact the top panel when replaced
- Pressure sensor cable is connected and routed
- Thermocouple cable is connected
- Steam wand is within reach — you will open it immediately after power-on
STEP 1 — Initial power-on
- Plug the machine into the wall.
- The machine should NOT power on automatically — the switch must be pressed.
- Press the power switch. Hold it for 1 second — then release.
Expected: The switch latches in the on position (your Chapter 4 spring mod). The HMI screen lights up and shows the Gaggiuino boot screen within 3–5 seconds.
If the switch springs back immediately, the spring mod from Chapter 4 did not work. Unplug the machine and revisit Chapter 4.
STEP 2 — Bleed the boiler (do not skip)
Immediately after the HMI screen lights up:
- Open the steam wand fully.
- Water will come out first — this is the boiler filling. Let it run into the drip tray.
- After 10–20 seconds, the flow will turn to steam. Let steam run for 5–10 seconds.
- Close the steam wand.
The boiler is now full of water. The heating element has something to heat. You can proceed.
If nothing comes out of the steam wand
Check that the water tank is seated and full. The pump should have primed during boot — listen for the brief pump pulse on startup. If the tank is fine but no water flows, check the pump wiring connections from Stage 4.
STEP 3 — Observe the boot sequence
Watch the HMI screen through the boot sequence:
- Gaggiuino logo splash screen
- System initialisation messages (brief — 2–3 seconds)
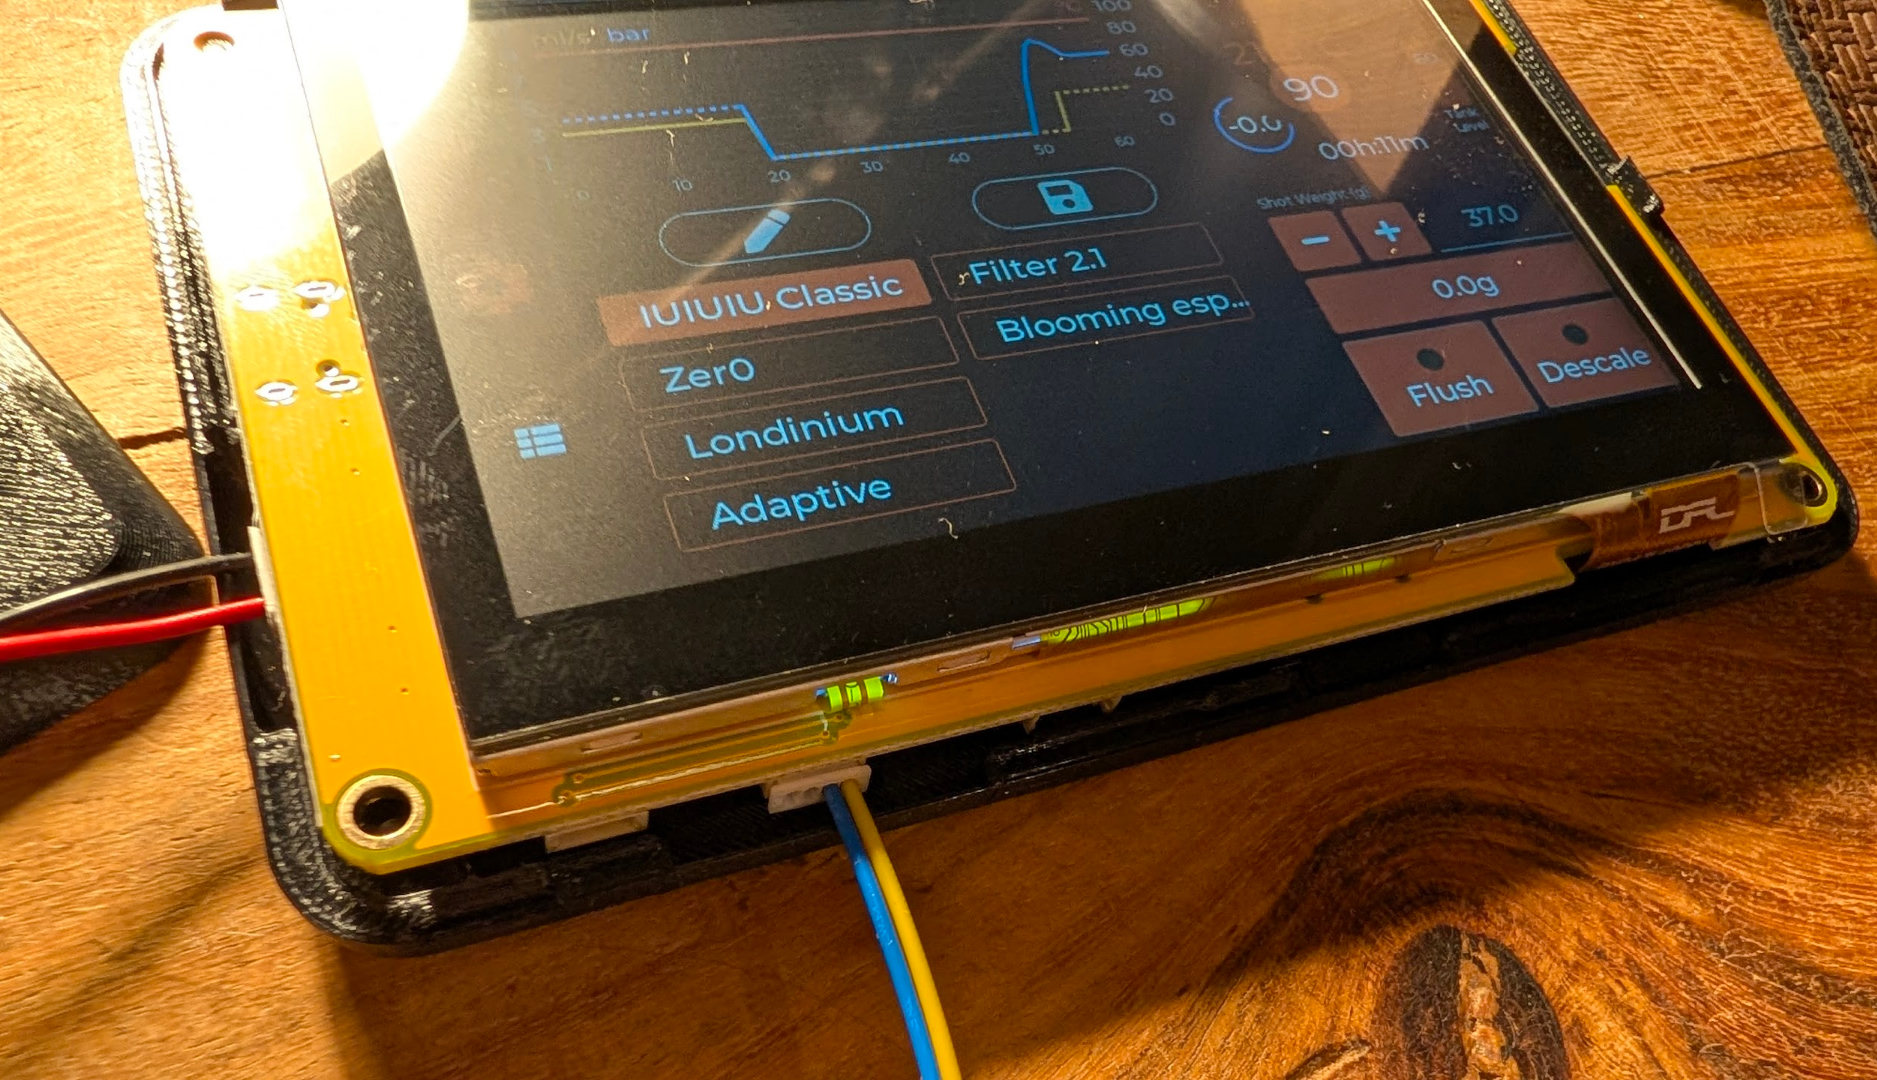
- Home screen appears
Expected home screen shows: - Temperature display (will show room temperature initially, rising as machine warms) - Pressure display (should read 0 bar — machine is not running) - Shot timer at 00:00 - Status bar at top with Wi-Fi/Bluetooth icons
If the screen shows no readings or the temperature reads abnormally (far above room temperature, or a fixed suspicious number), stop and check the thermocouple connection.
STEP 4 — Verify temperature sensor
Watch the temperature reading for 2 minutes as the boiler begins to heat.
Expected: Temperature rises steadily from room temperature toward target (default 93°C). The rate of rise should be smooth — approximately 3–5°C per minute on a cold start.
Not expected: - Temperature stuck at a fixed number (thermocouple disconnected or incorrect polarity) - Temperature jumping wildly (bad thermocouple connection or electromagnetic interference from AC/DC cable routing) - Temperature showing -200°C or similar error value (thermocouple open circuit)
If readings are abnormal: power off, unplug, and recheck the thermocouple connector at both ends (PCB and probe).
Boiler temperature going above 100°C during a shot — is this normal?
Yes. The Brew Delta feature (enabled by default) actively raises boiler temperature just before and during extraction to compensate for heat loss as cold water enters the boiler. The temperature may spike well above the set point during a shot. This is intentional behaviour — the group head temperature stays much more stable than the boiler reading suggests. You can adjust or disable Brew Delta in Settings → Brew → Brew Delta once you've pulled a few shots and assessed the result.
STEP 5 — Verify pressure sensor
Trigger a brief pump run by pressing the brew button for 1–2 seconds (machine must be at temperature first — or use the manual pump test in Settings).
Expected: Pressure display shows a reading above 0 bar when the pump runs. With no portafilter and no coffee (open circuit), pressure will likely be low (1–3 bar). This confirms the sensor is reading.
Not expected: - Pressure stays at 0 bar while pump runs (sensor disconnected or wires swapped) - Pressure immediately reads maximum (12 bar) with pump off (short circuit on sensor)
STEP 6 — OPV pressure calibration
With the machine at full temperature, run a blank shot (portafilter with no coffee, blind basket) and observe the pressure.
Expected for EU machines: Pressure should reach 10–12 bar with a blocked basket. EU machines are factory-set in this range — verify, but adjustment is usually not needed.
US machines: The OPV is factory-set to 9 bar. Gaggiuino needs 10+ bar to profile correctly. Adjustment is required.
Where the OPV is
The OPV (Over-Pressure Valve) is a small brass spring-loaded valve located on the right side of the machine interior, between the pump and the boiler. It has a hex-head adjustment point accessible from the top of the machine with the top panel removed.
On the E24, the OPV looks like a small cylindrical brass component with a spring inside it and a bypass hose port. The bypass hose routes excess pressure back to the water tank.
How to adjust (US machines — or any machine below 10 bar)
Option A — Add M3 washers (no tools needed beyond pliers)
- Unplug the machine from the wall.
- Remove the top panel (done in Chapter 3).
- Locate the OPV — brass cylindrical body with a spring visible inside.
- Unscrew the OPV cap (the hex or slotted top) with a spanner or screwdriver.
- Place one M3 washer on top of the spring inside the OPV body.
- Replace the cap.
- Reassemble, power on, and run a blank shot to re-test pressure.
- Repeat: add one washer at a time until pressure reaches 10–11 bar with a blocked basket.
Option B — Replace the OPV spring (permanent, preferred)
A 12-bar OPV spring is available from the Gaggiuino community and third-party suppliers. Drop-in replacement for the stock 9-bar spring. Eliminates the washer stack and is more consistent.
Why 10–11 bar — not 9, and not higher than 12
The OPV is the pressure ceiling, not the target. Gaggiuino controls pressure by modulating the pump — but if the OPV opens before the target pressure is reached, the pump loses control of the system.
A 9-bar OPV means the machine physically cannot sustain 9 bar: the OPV bleeds off pressure the moment it tries to reach 9 bar, so Gaggiuino loses pump authority mid-shot. Setting it to 10–11 bar gives 1–2 bar of headroom above a typical 9-bar profile. That headroom is what lets Gaggiuino actually control the shot.
Don't go above 12 bar — you put unnecessary stress on the seals, the PTB O-rings, and the pump itself.
STEP 7 — Scales calibration (Complete Kit)
If you installed the scales in Chapter 7:
- Go to Settings → Scales → Calibration
- Follow the on-screen prompts — you'll need a known weight (100g calibration weight, or a known object like a coin)
- Tare, place weight, confirm
Why your shot stops before reaching target weight
Each profile has multiple stop conditions: time, weight, and waterPumped (volume). Whichever condition is reached first ends the shot — regardless of the others.
For example, the IUIUIU Classic profile stops at 36g or 60mL waterPumped — whichever comes first. If your 50g weight goal is never reached but the shot stops, it's almost certainly the waterPumped or time condition firing first.
To change this: edit the profile's globalStopConditions via Settings → Profiles → [profile name] → Edit (or via the web UI). Increase or remove the competing stop condition. The profile stop conditions are part of the profile design — check what the profile author intended before changing them.
STEP 8 — Temperature offset calibration
The thermocouple measures boiler temperature, but what you care about is group head temperature. There is typically a 5–10°C difference.
- Use a calibrated thermometer at the group head (a puck thermometer or similar)
- Compare against the Gaggiuino temperature reading
- In Settings → Temperature → Offset, enter the correction value
STEP 9 — Pull your first calibration shot
Set a simple flat 9-bar profile (no pre-infusion, 9 bar throughout) and pull your first shot with coffee. Observe:
- Shot pressure holds steady at 9 bar
- Temperature remains stable during the shot
- The pressure graph on the HMI shows the profile
If this looks correct: your build is complete.
Build complete
You did it. Your Gaggia Classic Pro E24 now has professional pressure profiling, temperature stability, and a touchscreen interface. Go make coffee.
If something isn't working as expected, go to Chapter 10 — Troubleshooting.
What to explore next
- Profiles: The Gaggiuino community shares profiles on the Discord. The default profile is a good start; most people eventually dial in their own.
- Web interface: Connect to your Wi-Fi and navigate to the Gaggiuino web UI from your phone or browser.
- Bluetooth scales: If you have a Bluetooth scale (Acaia, Bookoo, etc.) enable it in Settings → Scales.
The meta-lesson here is: the hardware works on paper, but the calibration is where it becomes yours.